Tired of
Prices that have nothing to do with the work. Thousands of dollars for a strip of plastic and an afternoon, sold on a kitchen table before anyone has been up to look at the roof.
Proudly CanadianOwned, run and working in the GTA
Proudly CanadianOwned, run and working in the GTA
Install it once.
Protect for life.
Cleaned, resealed, realigned, reinforced, then protected. Toronto and the GTA.
Water that cannot leave the roof has to go somewhere else, and it works its way down the house from the eave to the footing. Every one of these starts at a gutter.
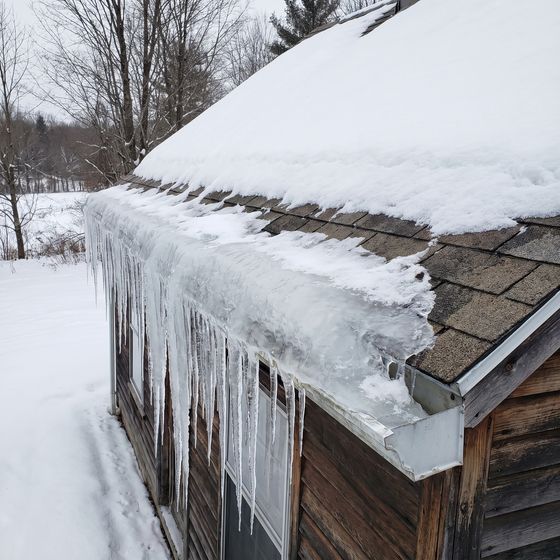
Water that cannot drain freezes at the edge, builds into a ridge, and forces the next melt back up under the shingles.
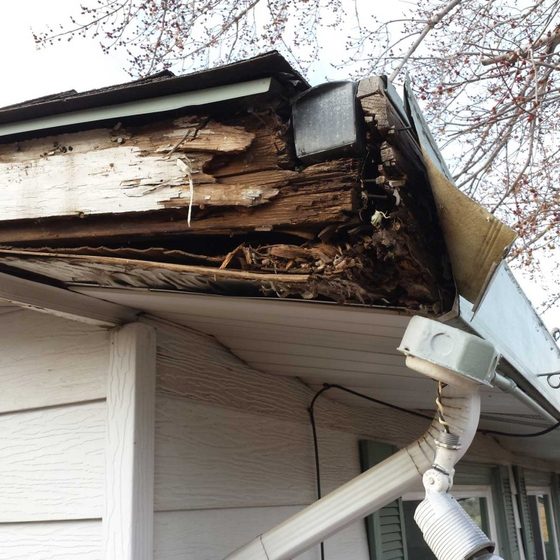
Water spilling behind the gutter sits against the fascia until the timber goes soft and the hangers have nothing left to hold.
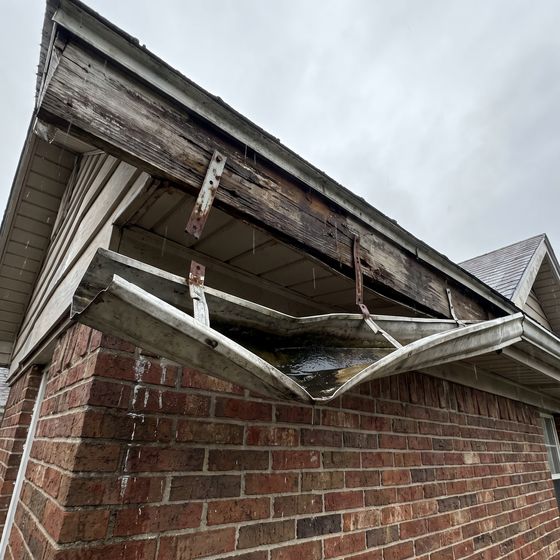
A blocked gutter carries the weight of everything in it. The hangers pull out, the run sags, and the water stops moving.
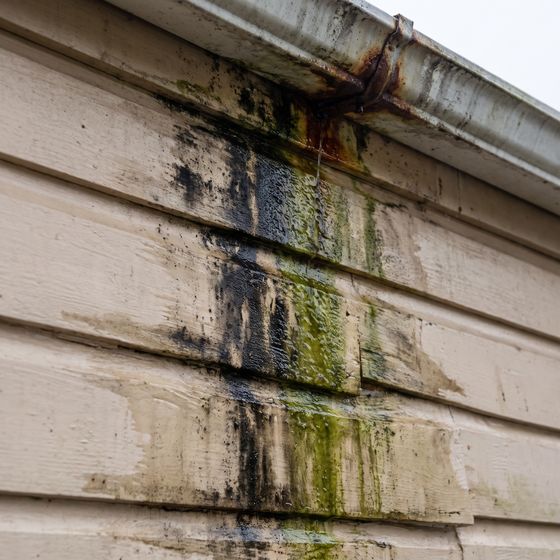
Overflow runs down the wall instead of the downspout. Dark streaks first, then algae, then rot in whatever is behind it.
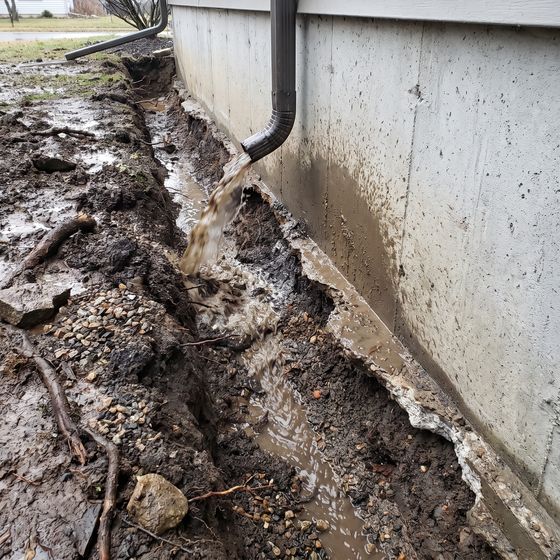
Roof water landing in one place digs a trench along the wall and washes out the ground the footing is sitting on.
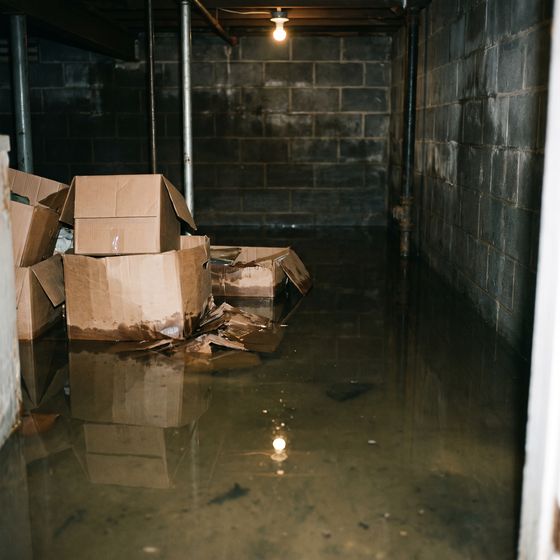
Saturated ground beside the foundation is what pushes water through it. Most wet basements start at the roofline.
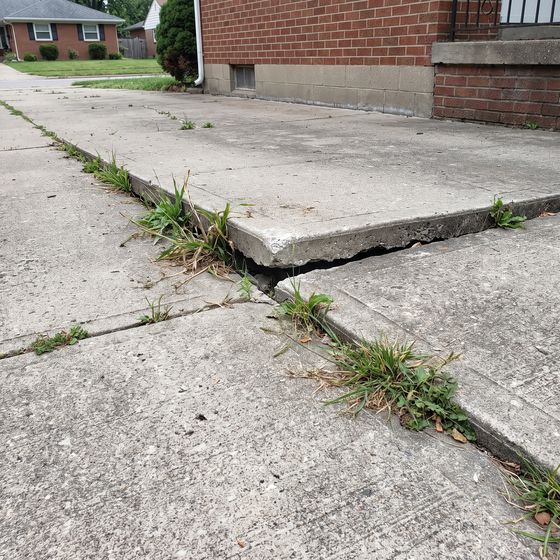
Water pooling at the edge of the slab freezes, expands, and lifts the concrete out of level.
Mesh, lattice, perforated metal, solid covers, clip-ons. Every one of these was fitted by somebody who was told it would be the last time they thought about their gutters.
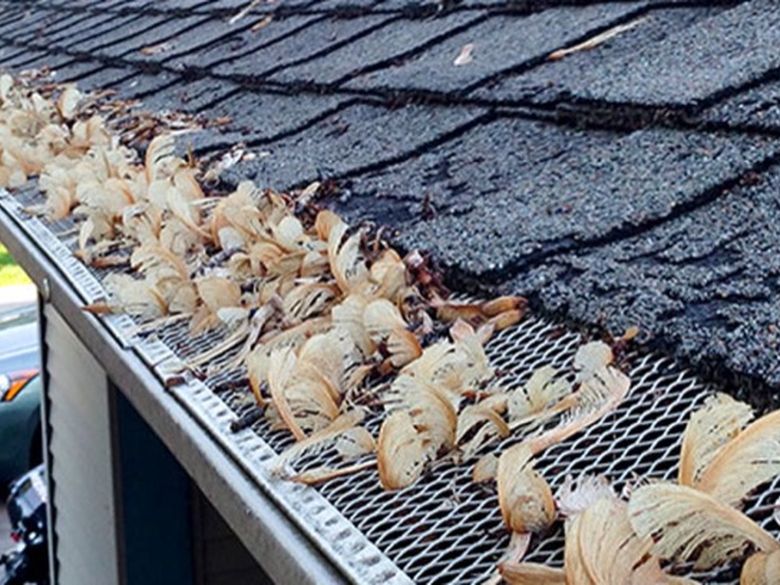
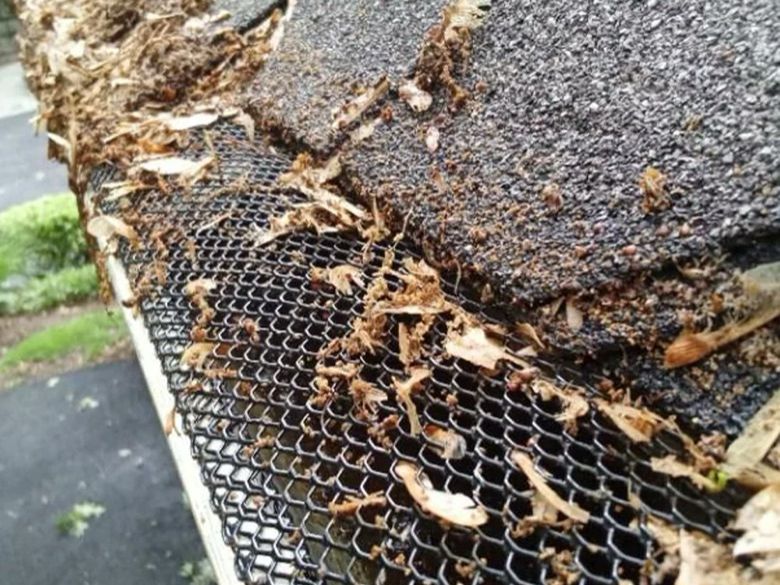
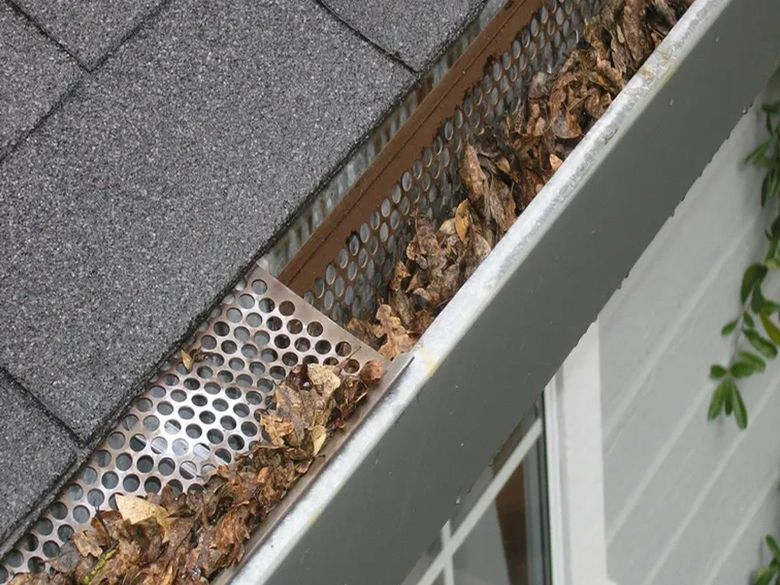
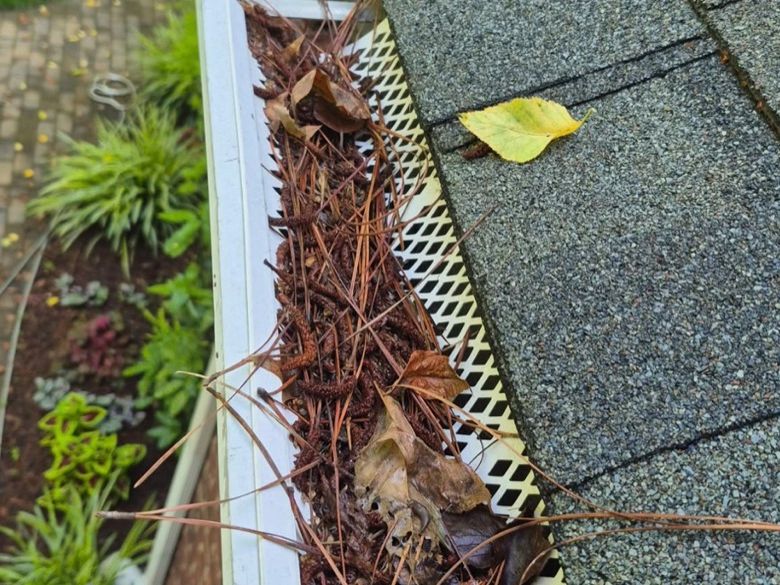
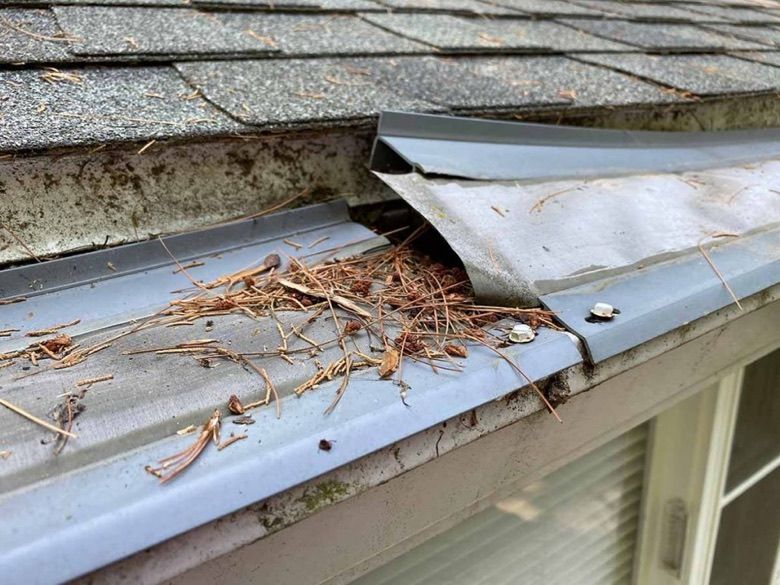
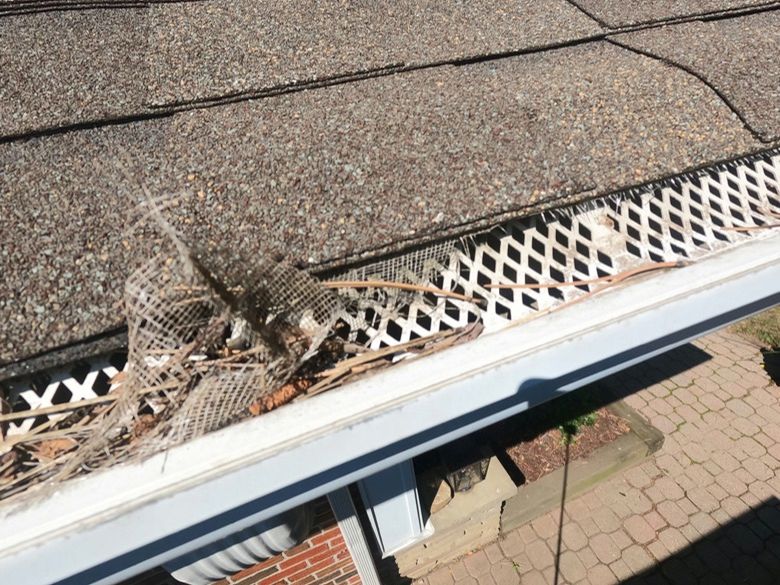
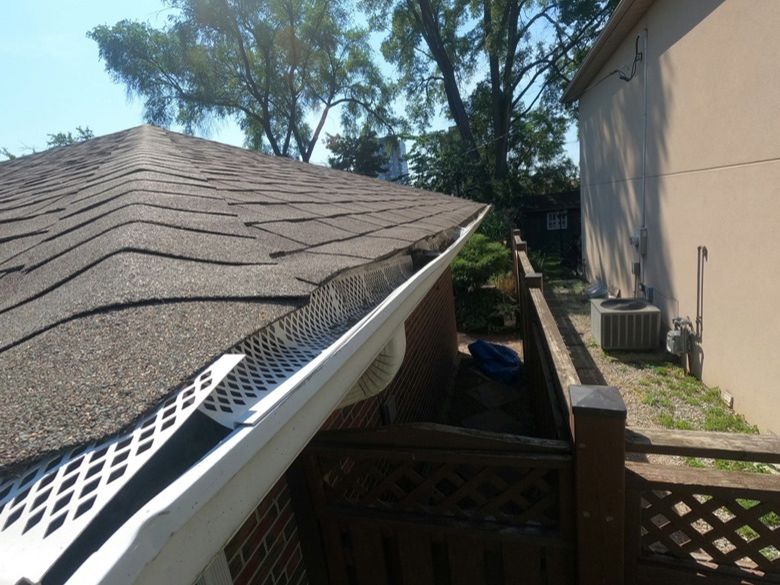
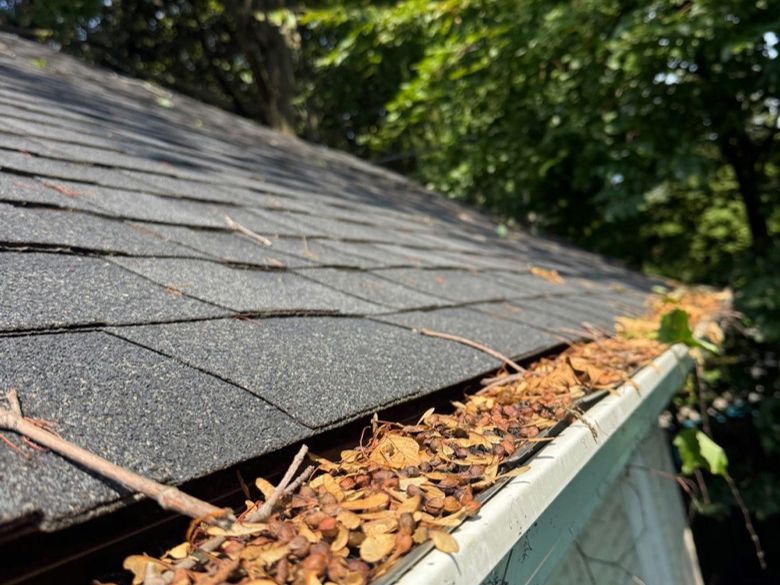
Different names. Different shapes. Same result.
Stainless steel micro-mesh, on a gutter that was fixed first.
Nothing sprouts under it, nothing goes brittle, and it never comes off again to be cleaned.
Almost every house we walk up to has the same problem. Blocked gutters, water down the wall, a guard on top that somebody paid a great deal of money for and that stopped working years ago.
Prices that have nothing to do with the work. Thousands of dollars for a strip of plastic and an afternoon, sold on a kitchen table before anyone has been up to look at the roof.
Warranties written so that they never have to be honoured. Parts only, not labour, void the moment you sell, and impossible to claim on by the time the guard has failed.
Protection that does not protect. A guard fitted over a gutter nobody cleaned, resealed or realigned first, which fails with the gutter and takes the homeowner's trust down with it.
Fix the gutter first. Then protect it.
Clean, reseal, realign, reinforce, then stainless steel micro-mesh on top. Photograph every bit of it. One honest number on the page, and a warranty that outlives the sale.
Priced for local Canadian families, not for the pitch.
Four things happen on every gutter guard job. Here is what each one is worth crossing out.
The guard goes straight onto whatever is already there.
Cleaned, resealed, realigned and reinforced first.
Plastic lattice or fibreglass screen, brittle in two winters.
Stainless steel micro-mesh. Birds cannot tear it.
More weight on hangers that were already giving up.
Heavy duty brackets go in before anything sits on top.
A number over the phone, and a reason to decide today.
A drone survey of your actual roofline, then a number.
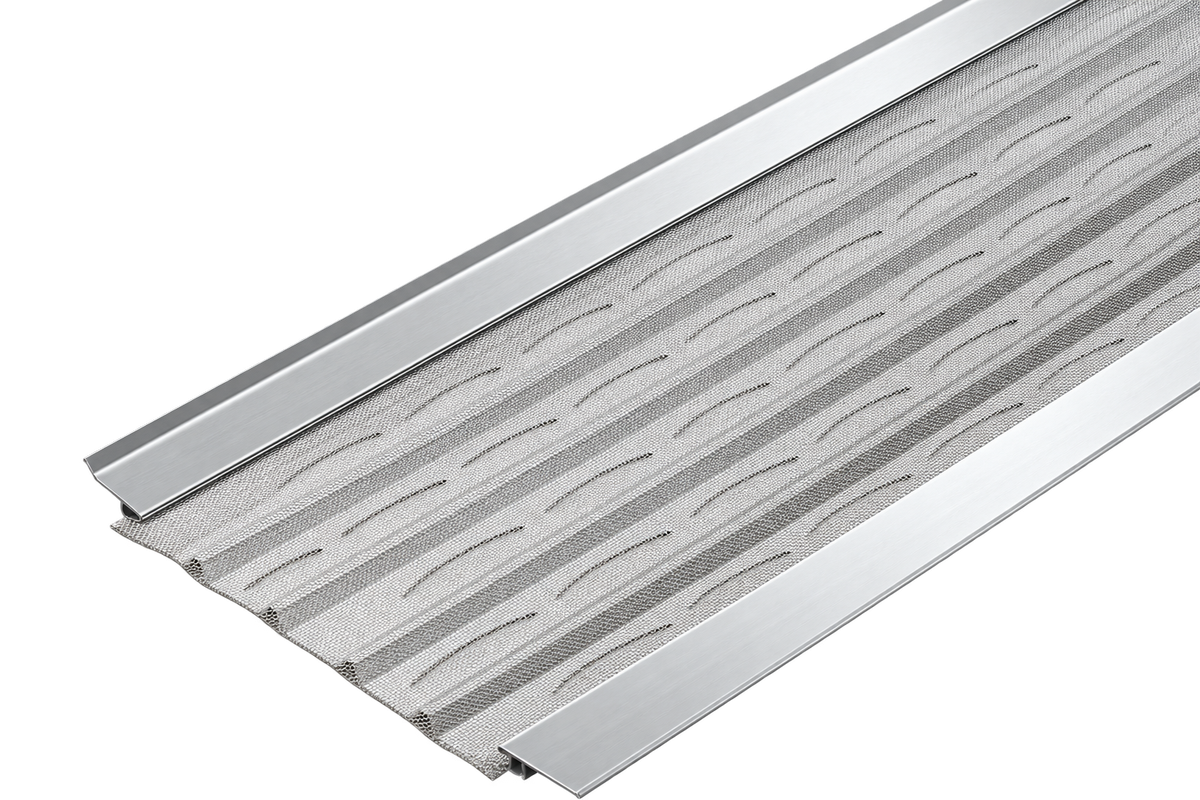
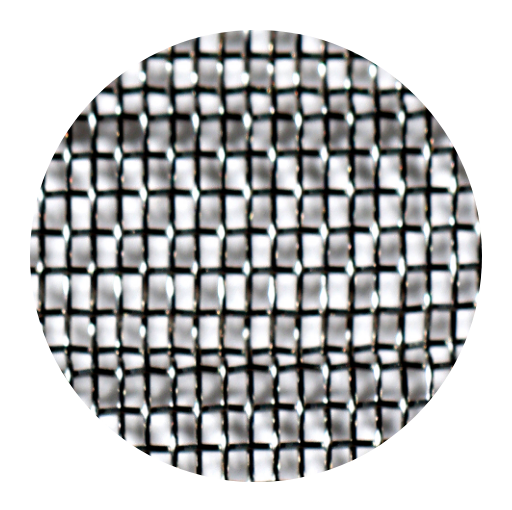
A high-performance gutter protection system engineered from premium metal materials. The rigid aluminum frame provides structural strength and long-term corrosion resistance, while the precision stainless steel micro-mesh provides fine debris filtration without compromising water flow.
Keep scrolling. The gutter changes as each step is done to it.
Everything comes out by hand. Leaves, needles, shingle grit, the black sludge in the bottom. Then we flush the run until the downspout comes out clear.
Every corner, end cap, seam and downspout collar gets architectural grade tri-polymer sealant. This is where an old gutter actually leaks, and you cannot see any of it from the ground.
A gutter needs a quarter inch of fall for every ten feet. We bring sagging sections back to line and set the whole run to that pitch, so water leaves instead of standing in the low spot and freezing there in January.
New heavy duty hangers go in wherever the old ones pulled loose, screwed through to the fascia and spaced tight enough to carry a winter of snow, ice and standing water.
Stainless steel micro-mesh goes on last, cut to your gutter profile and fastened down. Rain goes through. Leaves, needles, maple keys and shingle grit stay on top and blow off dry.
Four of the five happen before any mesh goes on. That order is the whole difference.
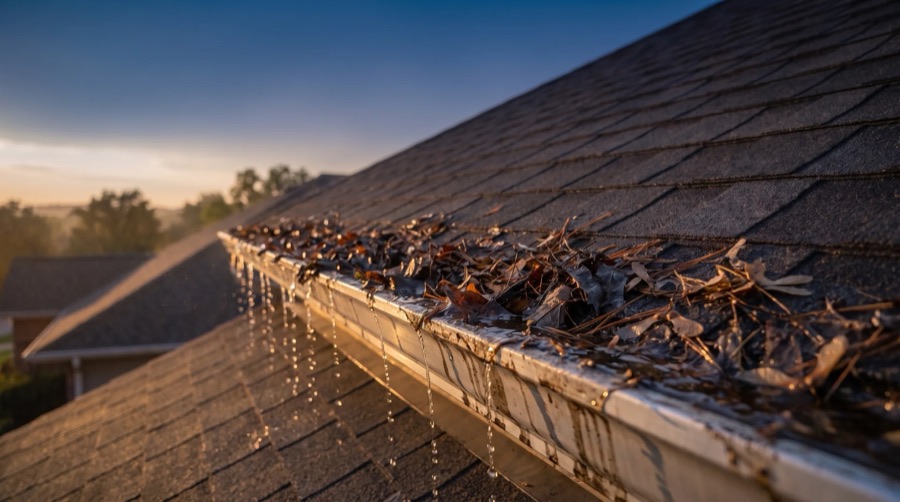
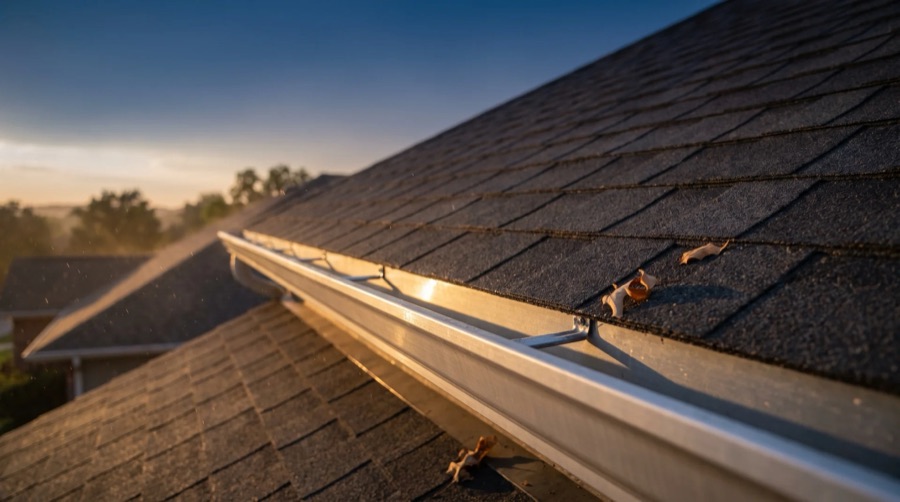
Everything comes out by hand. Leaves, needles, shingle grit, the black sludge in the bottom. Then we flush the run until the downspout comes out clear, and the debris leaves with us.
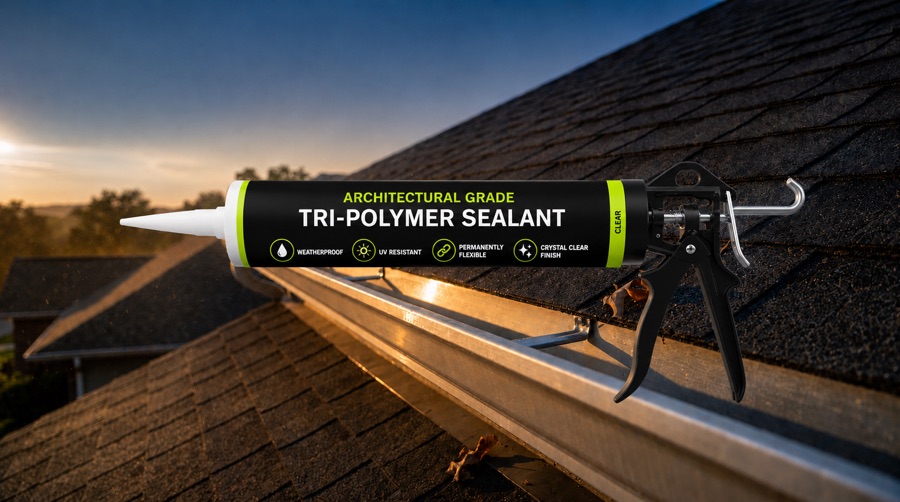
Every corner, end cap, seam and downspout collar gets architectural grade tri-polymer sealant. This is where an old gutter actually leaks, and you cannot see any of it from the ground.
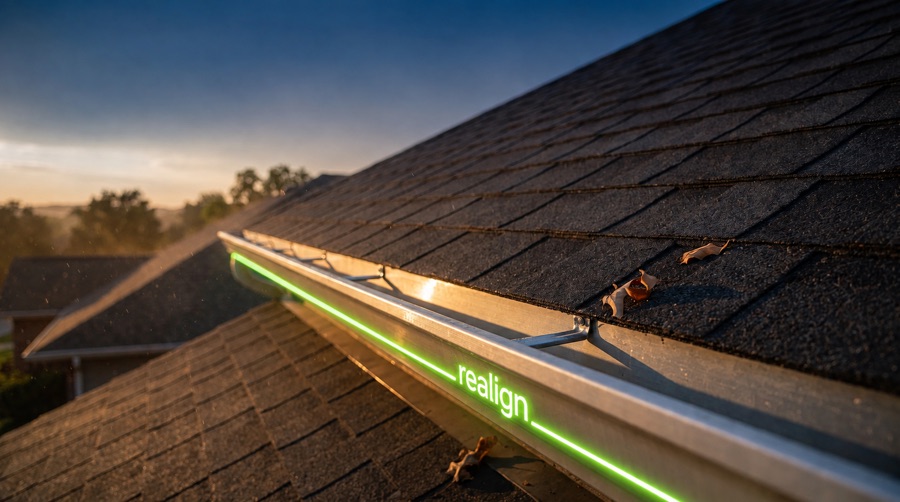
A gutter needs a quarter inch of fall for every ten feet. We bring sagging sections back to line and set the whole run to that pitch, so water leaves instead of standing in the low spot and freezing there in January.
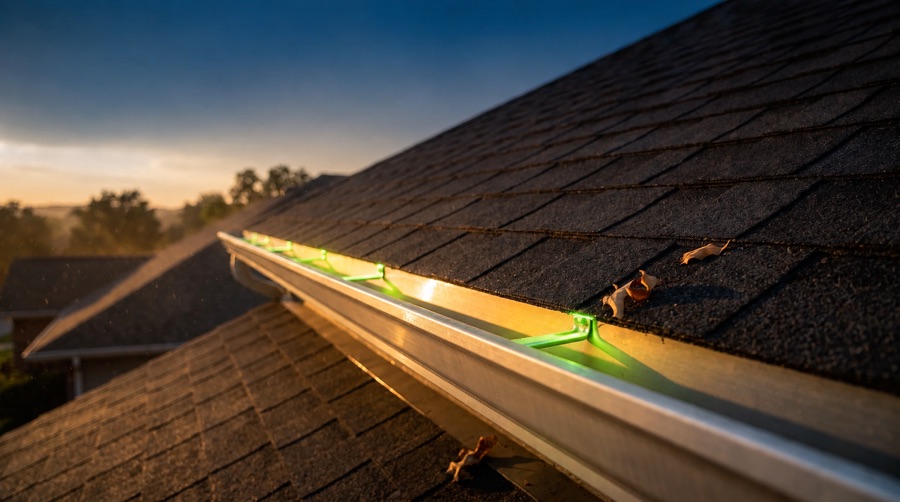
New heavy duty hangers go in wherever the old ones pulled loose, screwed through to the fascia and spaced tight enough to carry a winter of snow, ice and standing water.
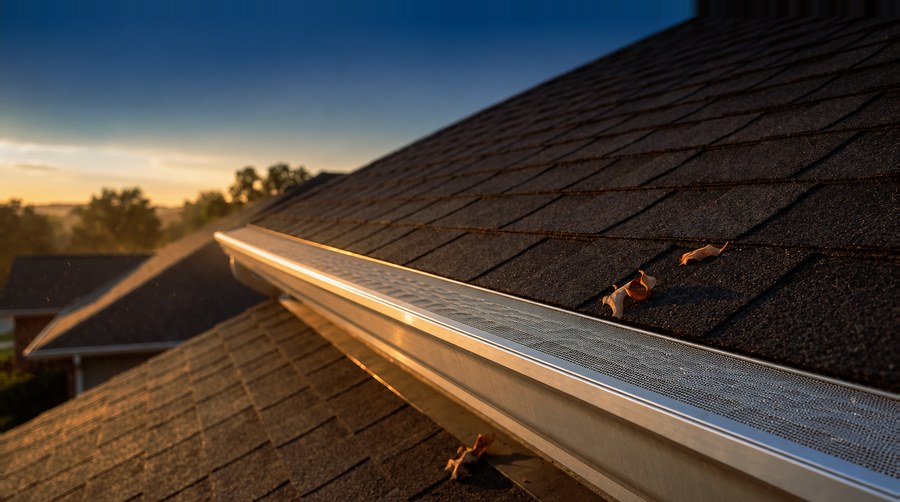
Stainless steel micro-mesh goes on last, cut to your gutter profile and fastened down. Rain goes through. Leaves, needles, maple keys and shingle grit stay on top and blow off dry.
Every line below goes on your quote before you decide anything. If it is not on the quote, it is not a promise.
Ask for anything on this page in writing. It goes on the quote.
Same drone inspection, same five steps, same warranty, wherever you are on this map.
Plenty of them have earned the reputation. A guard fitted to a failing gutter fails with it, and that is most of what people have seen. The mesh is not the trick. The four steps underneath it are.
The stainless mesh and the workmanship, for as long as you own the house. If something we fitted comes loose, lifts, or lets debris through, we come back and put it right at no cost. Sell the house and the warranty transfers to whoever buys it.
A drone flies the full roofline and photographs every run, corner, seam and downspout close up, including the elevations you cannot see from the ground. It takes about twenty minutes, nobody goes on your roof, and you get the images whether or not you go ahead.
Debris sits on top, dries out and blows off. That is how micro-mesh is meant to work. If your roof drops something unusual, we tell you at the inspection rather than after.
It depends on how much gutter you have and what condition it is in. That is why the drone inspection is free and why we photograph everything. You get one number and we do not move it.
Stainless steel does not go brittle in the cold. Keeping the run clear and correctly pitched is also the best thing you can do about ice building at the eave.
Most homes are a single day. We take the debris with us and fly the finished run before we leave, so you get an after set as well as a before set.
Gutter Proof uses professional drones to inspect your entire roofline up close, capturing every gutter run, corner, seam, and downspout. No ladders. No guessing. No obligation.